First thoughts on the Aarn Featherlite Freedom backpack
Is this the Hoka One One of backpacks?
Why another backpack?
I am a gear-head. Photographers call it GAS (Gear Addiction Syndrome). With photography, it is about slightly better results but with backpacking it is almost always reducing pain. I started backpacking three years ago and slowly working my way towards a reasonably heavy kit.
I have used two backpacks for multi day trips so far. The Osprey Atmos 65 and currently the Gossamer Mariposa. My base weight is 21.6 lbs now, this is the current gear I am planning to carry with me on my upcoming JMT hike.
I have tried to reduce the weight of almost all my stuff. I tried a quilt on my High Sierra Camp loop hike last year. It worked fine for most days, but the couple of nights we spent at over 10,000 feet elevation, I couldn’t handle the 30s night temperature. I could not avoid the draft no matter what I tried and really did not like sleeping with a beanie. I have gone back to my REI Magma 15 sleeping bag. Likewise, after trying a few lightweight alternative sleeping pads, some of which are like sleeping over a bag of chips, I have gone back to my Nemo Tensor Wide.
The pattern I notice is given a choice between comfort and weight, I seem to gravitate back to comfort. What this means is for a 5-6 day hike, my backpack is going to weigh 35 lbs (with the Nikon Z50 and 16-50 hanging in front of the backpack using the Peak Design Capture Clip).
When I moved down from Osprey Atmos to a “ultralight” backpack, I chose the Gossamer mariposa because I read that it is the best intermediate bag for people moving down from heavier equipment. The Mariposa is a fantastic backpack. Everything has a spot and the bag is small enough. However, in my experience, the bag is most comfortable when the pack weighs 30lbs or less. You can push it to 35 lbs (which is the recommended maximum weight), but you will feel it.
No matter how tightly I cinch my hip belt, I couldn’t transfer the weight from the shoulders to the hip belt comfortably. I had to take my backpack off every mile or so in High Sierra Camp loop and was struggling on some days at end of the day.
We are planning to hike a large section of the JMT (from Rush Creek to Mt. Whitney) in July. Speed is not what we aim for and we are planning to hike this 183 mile section over 22 days. We are going to get resupplied at Red’s Meadow, Muir Trail Ranch and a mule drop-off at the interesection of Kearsarge Pass Trail and JMT. Our longest section is 8 days between MTR and Kearsarge Pass junction. This means that my backpack will be 37-38 lbs on that section.
That is a bit too much for Gossamer Mariposa, so I was tempted to look at an alternative backpack to handle that weight comfortably.
When we hiked the High Sierra Trail, on day 7, we were struggling our way up Trail Crest from Guitar Lake. As we were slowly ambling up, we saw this lady moving pretty fast, without hiking poles and eating breakfast while hiking. She was wearing this really funny looking backpack. She had two mini backpacks hanging in the front shoulder straps. Something about her gait felt different and she was moving rather effortlessly. We briefly asked her about the pack and she said the weight in the front balances her pack well and makes it easier to hike. While searching for backpacks, I found that the backpack she was carrying was an Aarn backpack.
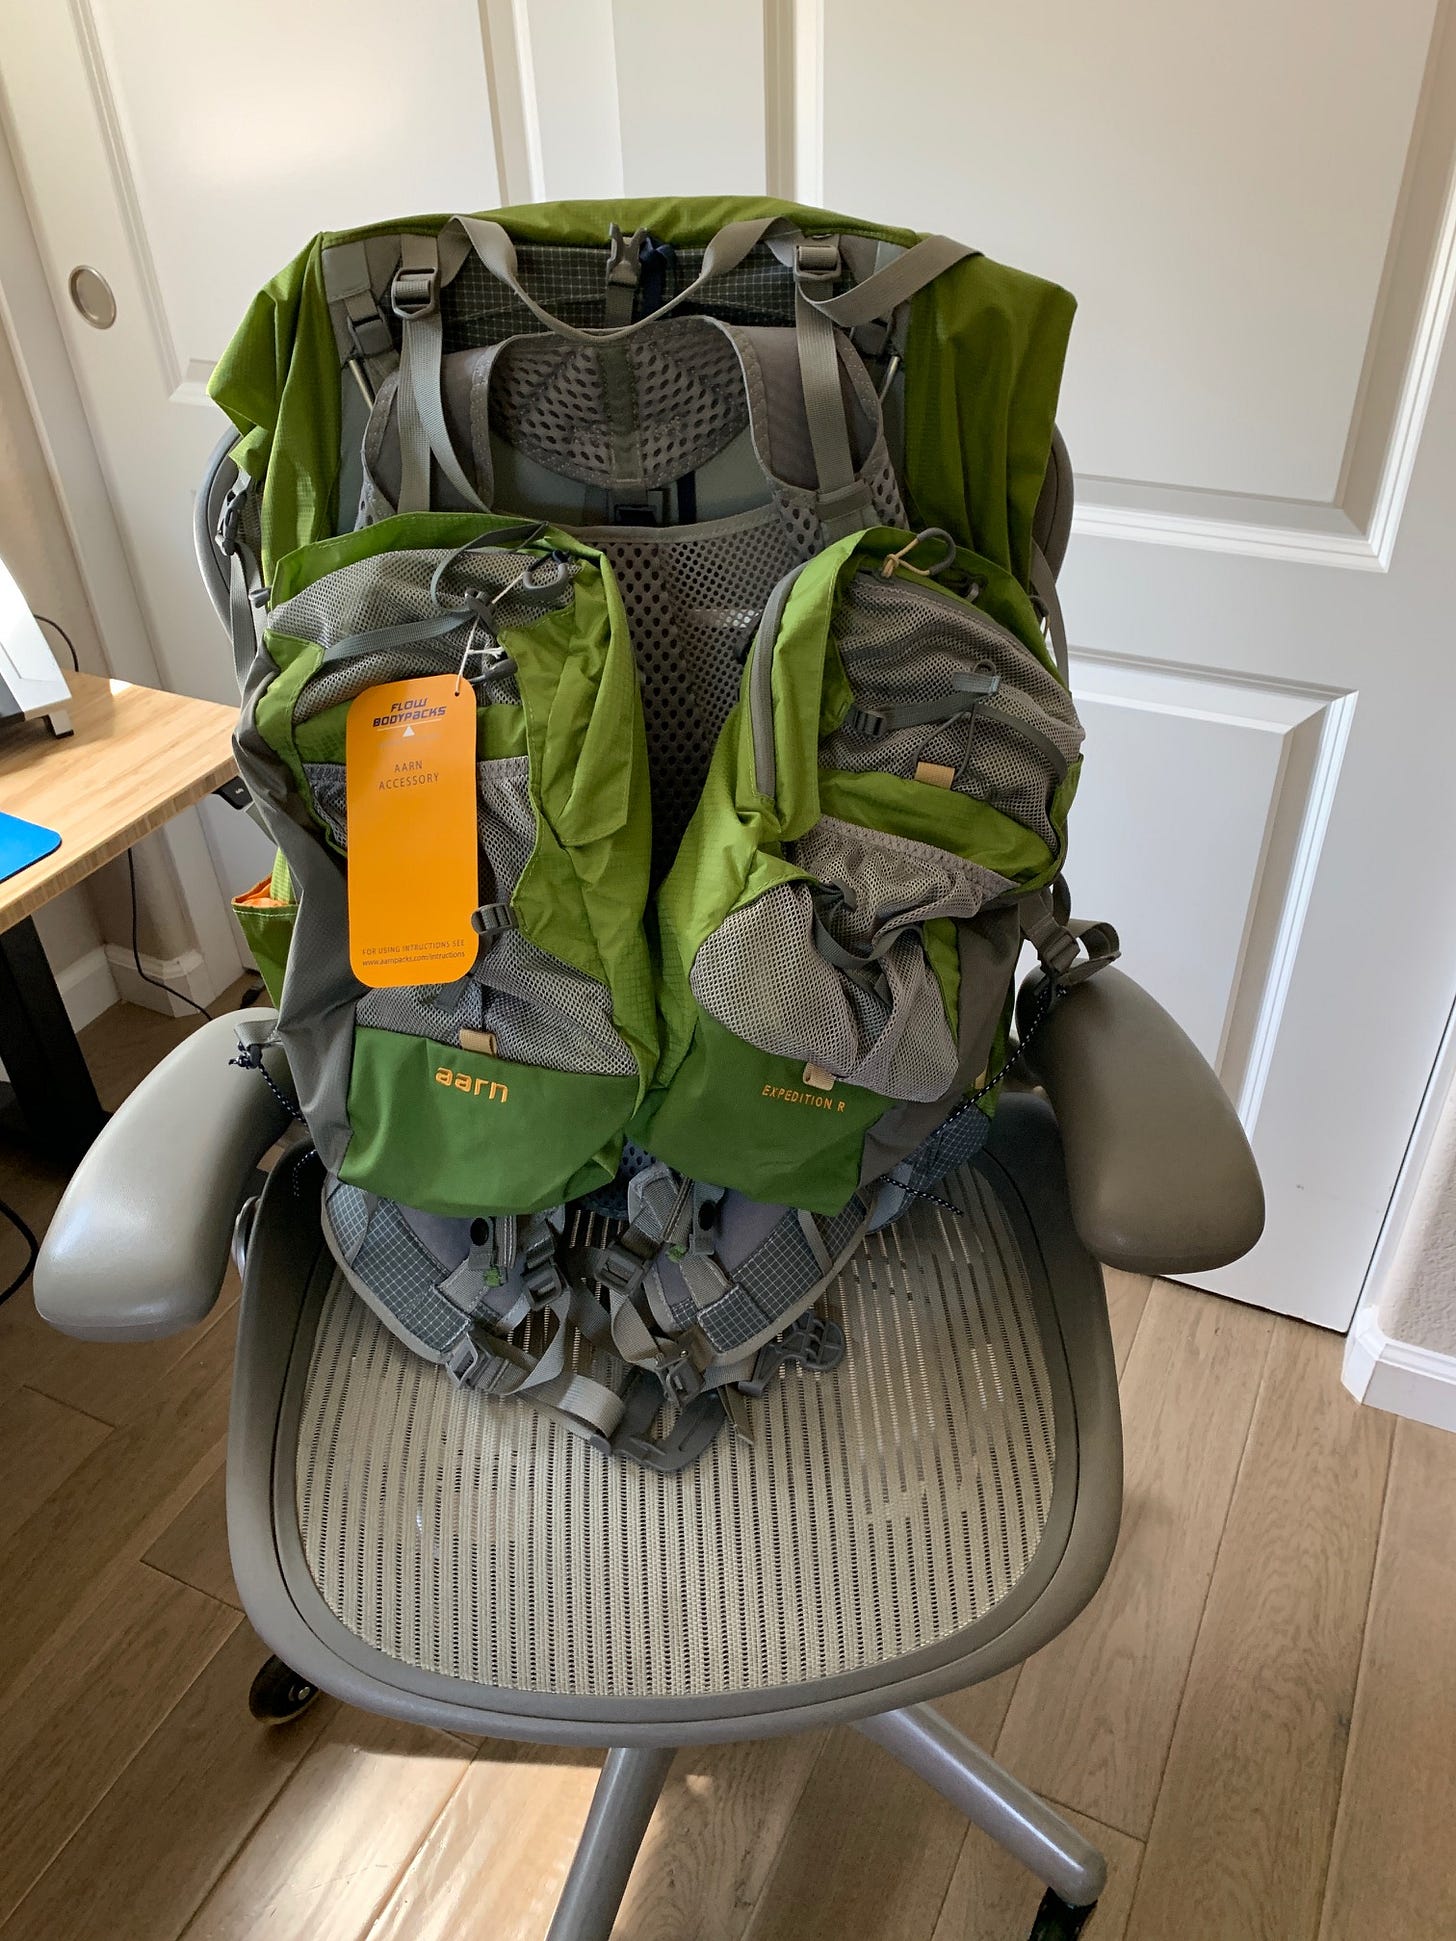
Aarn backpacks are designed and manufacterd in New Zealand by Aarn. He has designed backpacks for over three decades. The idea is to move the dense items to the front of the pack in large pockets called “balance pockets”. This counter balances the heavy backpack and reduces stress on the shoulder. The pockets are innovately designed so that the load is transmitted directly to the hip belt and not to the shoulders. They call these packs as “bodypacks” and not backpacks.
Multiple reviews on the Internet point you to the study done by Professor Ray Llyod. This study is linked in the AARN website. If you are interested in the pack, I highly recommend you read it. In particular this TL/DR resonated with me.
By using the largest volume Balance pockets with a small to medium volume pack, and packing your heavier items as far forward and as low down as possible, it is possible to create a naturally balanced load carrying system. This is where the center of gravity of your load perfectly matches the center of gravity of your body, both horizontally and vertically.
I decided to give the bags a try.
Buying process
The official resupplier in the US is http://www.aarn-usa.com. Many backpacks are out of stock due to Covid manufacturing issues, but Genie & Rich, the people behind the distributor are very helpful on Facebook Messenger, so I was able to reach out to them.
The AARN featherlite freedom was sold out in the long back length at the AARN website, so I ordered the larger AARN Natural Balance instead. The bag was delivered via USPS priority mail within 2-3 days to my home in the Bay Area. The minute I opened the bag, I realized that the backpack is too large for me. The Natural Balance is an immensely huge pack. I do not need a pack of that size, so I returned it without using. Return was a painless process, but I had to pay for return shipping and I got the refund back quickly.
I started looking for the featherlite freedom backpack online. I found it on sale via eBay. The price on eBay was higher than on the website (the website has a sale going on). I asked Genie & Rich if this is an authorized reseller and if they would support the product if I bought on eBay. They said it was in fact, their own account on eBay and their eBay marketplace. I placed an order on eBay (higher price, pay for shipping) and it was shipped by Genie & Rich, I received it within 2 days via FedEx express.
I wish the buying process was straightforward. I wish I was able to buy the featherlite freedom online via their website without having to go through eBay.
My next big surprise was that the featherlite freedom shipped with expedition balance pockets (15L) instead of the lighter, smaller sports balance pockets (12L). I asked Gene & Rich about this since their website says the featherlite freedom is recommended along with the sports pockets.
I heard back that the expedition pockets are the standard now and they are out of sports balance pockets.
There are a lot of options when it comes to the Aarn backpacks and what you see online is not always accurate.
Size
The backpack is big, but not overly so. My Gossamer Mariposa measures 22” x 11” x 7”. The AARN featherlite freedom measures 25.6” x 16.5” x 9.8”. It is bigger in every dimension but it is most pronounced width-wise. My immediate concern was if the additional width of the backpack is going to be a problem.
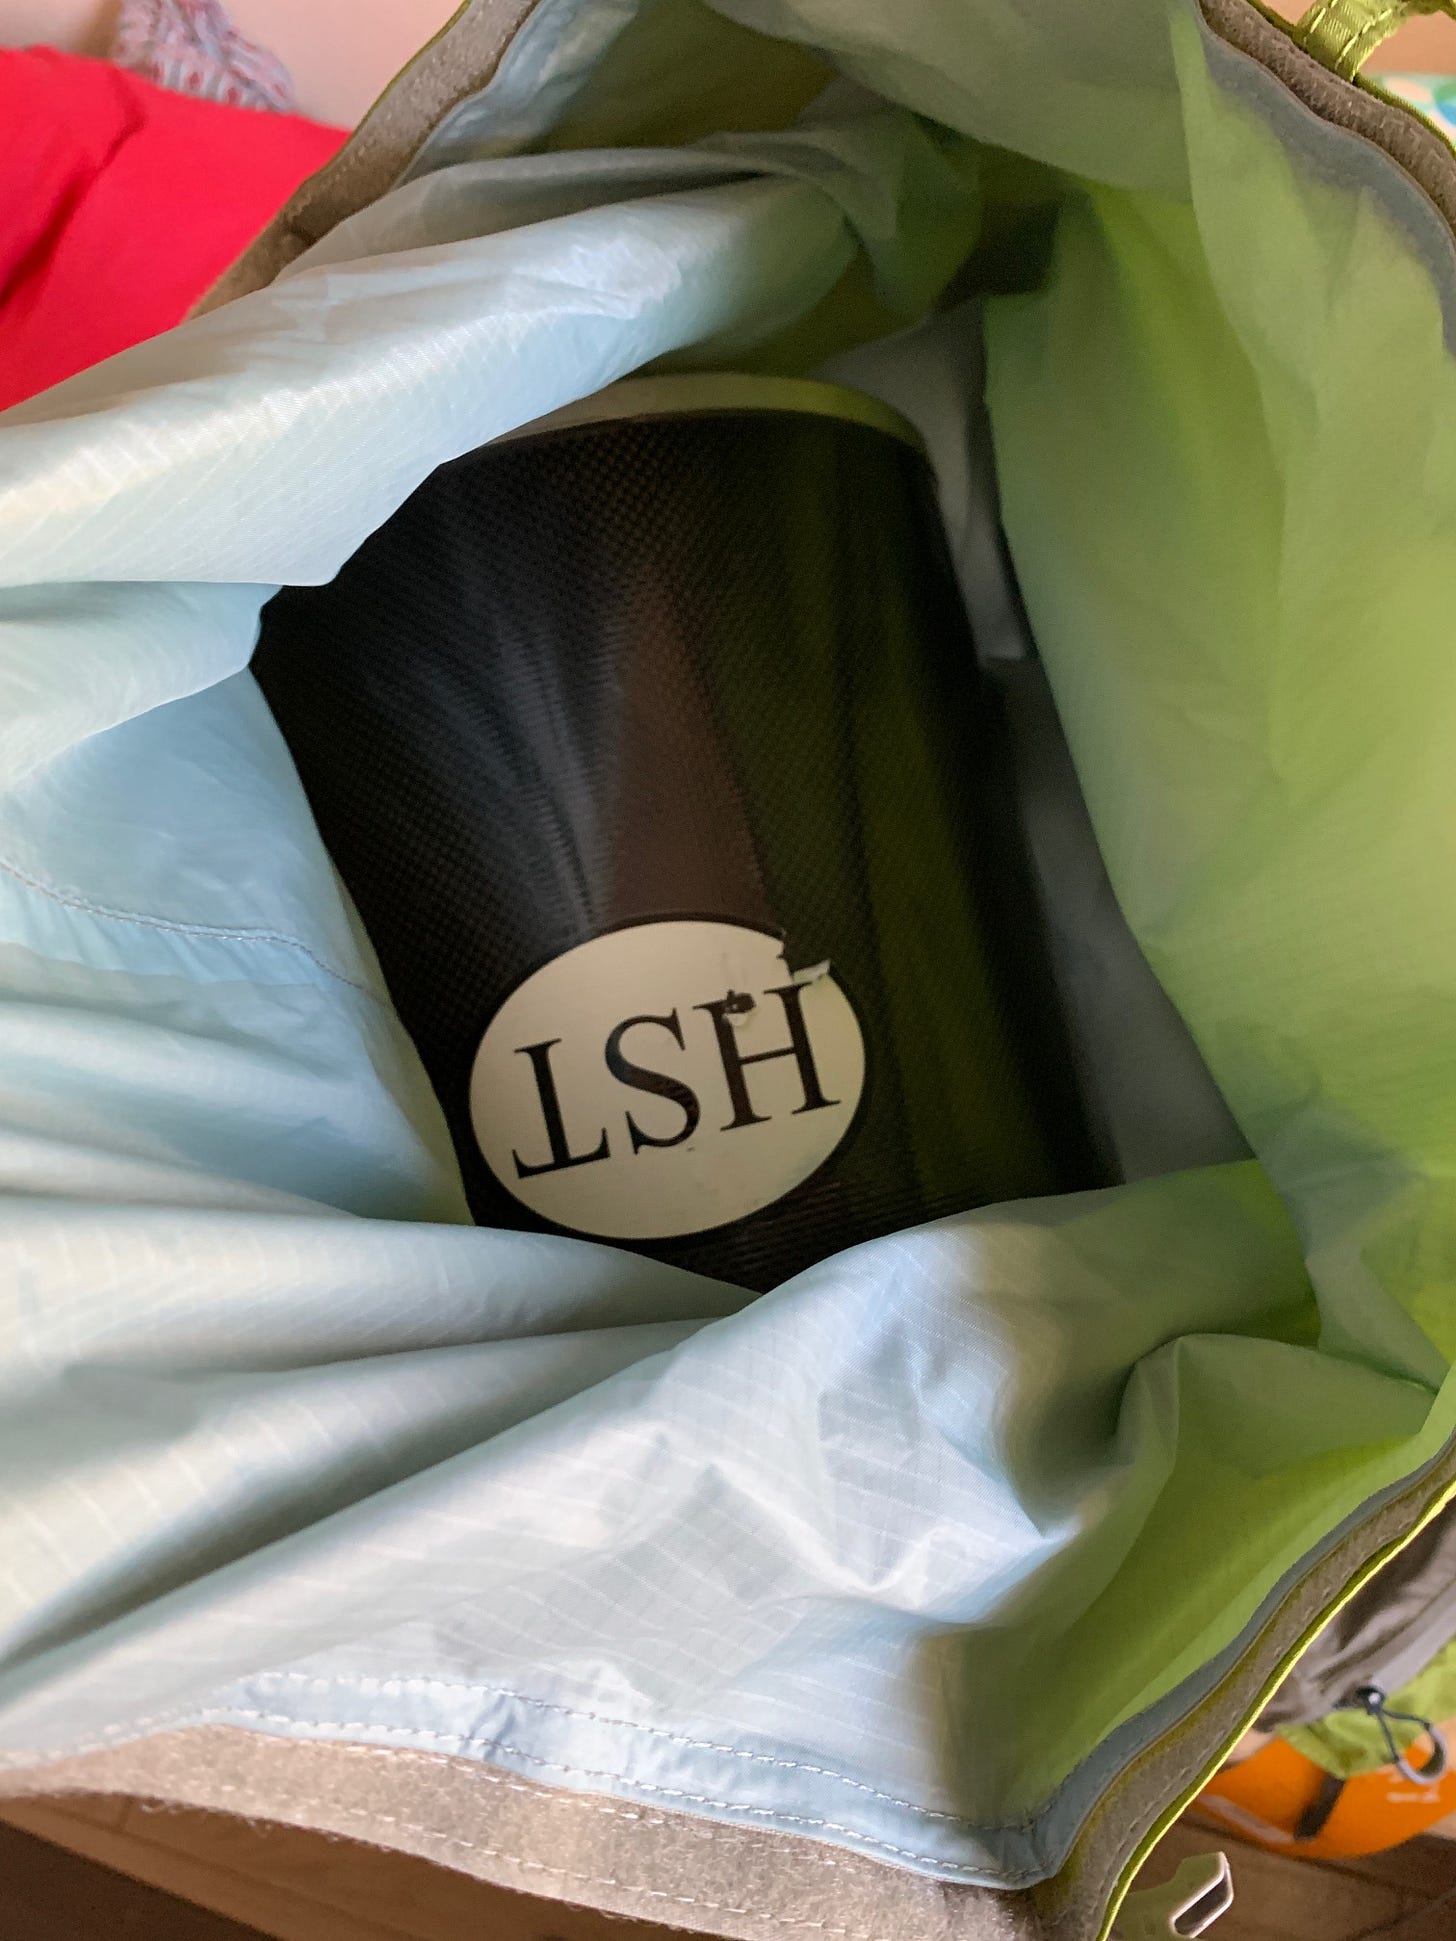
This also meant that my bear canister, the Bearikade Weekender (9” dia, 10.5” tall) goes in comfortably (unlike the ZPacks Arc bags). I suspect even the largest Bearikade, the Expedition will go in handily.
If you insert the weekender horizontally, it gets stuck at the top of the pack due to the frame.
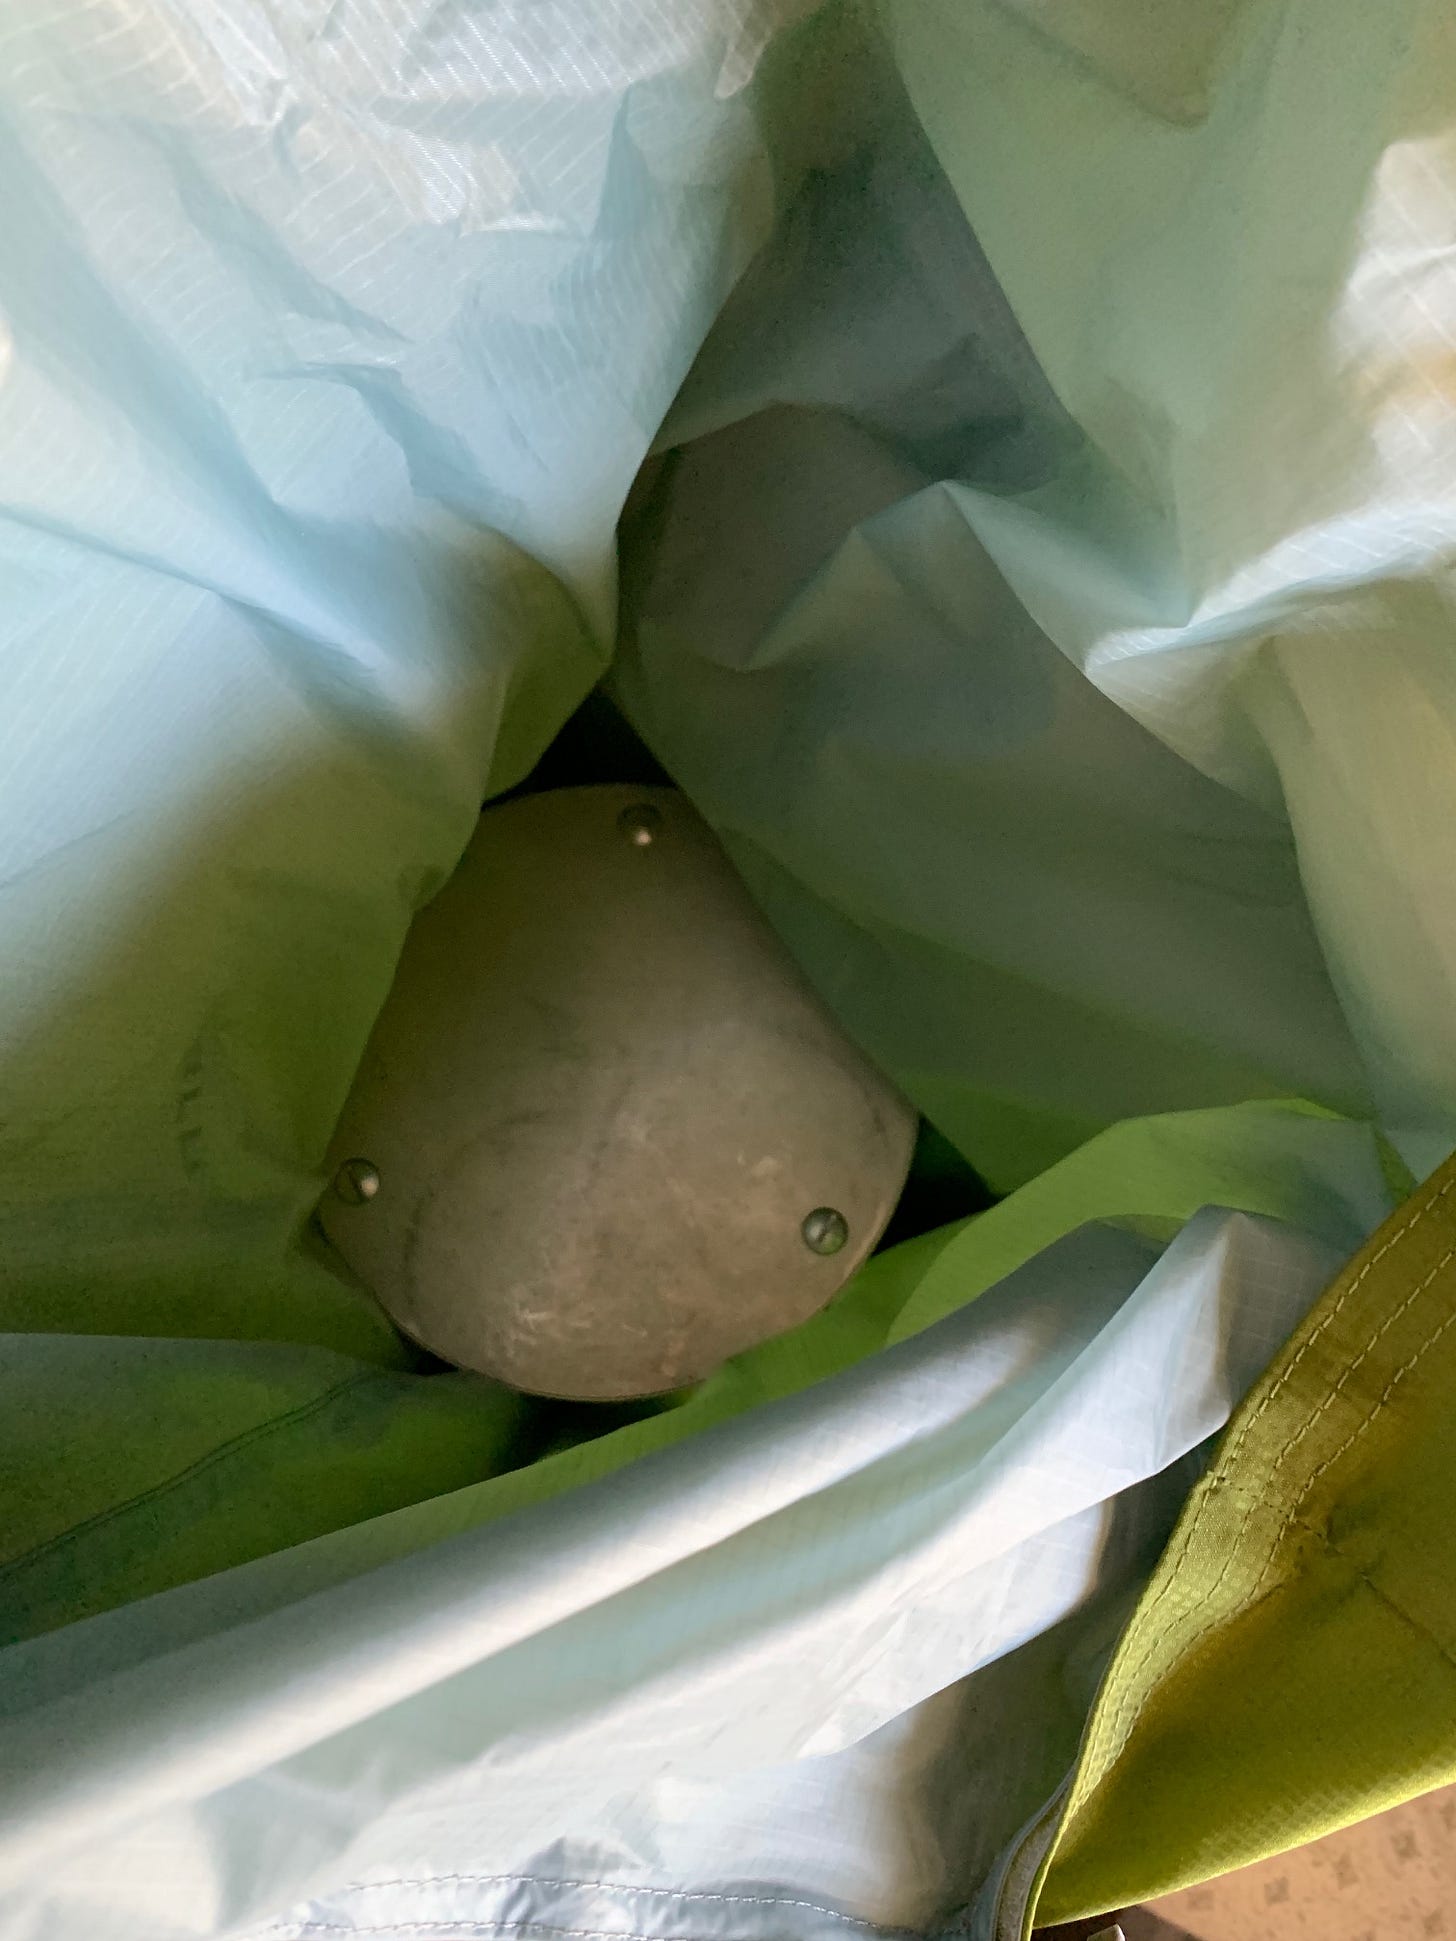
But it goes in vertically just fine.
Once it is at the bottom, you can turn it on the side if you so prefer.
If you have a sleeping bag below, I don’t think the bearikade weekender will fit in horizontally. When I loaded my backpack fully (unfortnately I do not have photos, I will take photos and write a follow-up post later on), I had my sleeping bag at the bottom, the bearikade on top of it and on one side, I had my Tarptent Stratosphere Li and on the other side I had my Nemo Tensor Deluxe to keep the bearikade centered.
There is ample width to keep a bear canister and have space around it to keep your tent and sleeping pad.
Weight
The “Featherlite” Freedom is a heavy pack. The backpack and balance pockets come with a water proof lining inside both the backpack and the balance pockets. The backpack is 3.1 lbs without the liners and the pockets. If you add both the liners and pockets, it is a massive 4.19 lbs. If you strip the liners but keep the pockets, it is still 3.97 lbs.
YIKES.
Not really featherlite. It is a good 2lbs over my Gossamer Mariposa. The good thing is the entire pack and pockets are water proof with the liners, so there is no need to carry dry packs inside, I guess.
If weight is your only concern, please stop reading now. If your pack is ligther than 25 lbs, then you are set already. But for me, as I am learning the hard way, given that speed is immaterial to me, I am willing to trade weight for comfort, question is, will the Aarn deliver?
For the weight of the pack, the shoulder strap is thin and the hip belt doesn’t have a lot of padding, which was scary at first.
Fitting
If there is any backpack that needs custom fitting, it has to be the Aarn packs. Initial pack setup is a 11 step process for the quick start and a 20 step process for advanced setup. There are many setup videos for fitting as well, many done by Aarn himself.
The thing to watch out for is some of the videos are very old that the packs have been updated and the suggestions may not apply directly, but the overall principles apply. I went through thel fitting link above and watched these videos multiple times to set up my back for the first time. I had to follow the instructions carefully.
The single most important thing was where the hip belt was positioned. With the Osprey backpack, the hip belt is recommended to be at the exact middle of the hip bone. With the Aarn, I found that the hip belt has to be a bit above or it starts to dig in the upper legs.
The bottom of the hip belt has to ride just below the hip bone or the pack doesn’t fit. I still have a problem where the bottom of the belt is digging in the lower side, Aarn suggests a fix to angle the hip belt to broaden the lower side of the hip belt, I misread the instrutions and did it the opposite way, I have fixed it and will try it on the next hike.
Does the weight transfer work?
After trying the loaded pack at my home, I took it for a short 3 mile hike that climbed nearly 1,000 feet in the Pleasanton Ridge. Few things I realized.
The more weight you add to the front balance pockets, the bag balances beautifully on your shoulder
There is no place to keep a hydration bladder in the backpack. The bag is designed to store the water in the front mesh of the balance pockets. I bought two Platypus SoftBottle Water Bottles that fit comfortably in the front mesh with 1L each.
I was able to fit 3 days worth food inside the pockets and there was more space for at least 3 more days worth food.
The Nikon Z50 and the 16-50 fit in comfortbaly in the pocket. As the hike went by, I preferred this method of carrying the camera over the Peak Design Capture Clip because this does not add any weight to the shoulder.
The zips on the balance pockets are easy to open single handed so I was able to quickly grab the camera and take photos.
I had to empty my bear canister and move all my food over to the front for optimal usage and put my stove and other stuff inside the bear canister to use the volume.
When I did these things, the bag simply floats above your shoulders. I have seen this happen with the Osprey Atmos backpacks when tuned correctly but you had to tweak a lot of things for that to happen. With the Aarns, similarly, when I moved enough weight to the front, the bag simply disappears from the shoulders.
There is a generous gap between my back and the backpack and the air flow helps with the sweat. This is a big improvement from Gossamer Mariposa.
The way the pockets attach to the front of the bag is brilliant. The top attachment of the pockets is through a “O ring”, it exists only to position the pocket. The entire weight of the pocket is transmitted to the front of the hip belt via the frames in the pockets - that is why this works elegantly. This is also why the Peak Design capture clip is a flawed design since it adds the weight of the camera to your shoulder.
The balance pockets work very well to move the load out of your shoulders to your hip, ONLY if you move almost all your food and water to the front pockets.
Is it worth the price you pay?
The Aarn featherlite freedom comes with multiple costs:
It is a pricey backpack, $ wise.
It is over 2 lbs heavier than ultralight packs.
It completely changes the way you pack your backpack. You have to throw away the old ways of packing the backpack and relearn everything. At the very least, your food and water have to go front. You have to move the food to the bear canister at night and move it back to the pockets in front each morning. That is a few minutes each night.
You can’t use a hydration bladder. I suspect you can attach a hydration tube to the Platypus soft bottle and stick it to the front on at least one bottle to provide similar functionality though.
Given how thin the shoulder strap and hip belt is, if you use it without the balance pockets or if you use it with less weight in front, you are probably in for a world of hurt. You need to commit to the way this pack is intended to be used (heavy dense stuff in front) to make it work. The study done by Prof. Llyod alludes to the same thing. They in fact suggest you get a small to medium backpack and the largest front balance pockets as possible.
Is the comfort worth the price you pay above? I am leaning towards yes at the moment, but I need to figure out the pinch of the hip belt. If that is removed and it should be since there are at least five different ways to tune the hip belt in addition to correct position of the hip belt, it should be fixable.
I don’t know how this will feel on a multi day trip. I will be taking this on a long and arduous day hike soon to see how it works there. There will be one or two 1-2 night backpacking trips before JMT for testing as well. Unfortuantely, if I use this backpack for JMT, that will be where I have to field test it to see if it works on a multi day trip.
I will write additional posts as I use this pack more, but hey this is why I guess people say “Hike your own hike”. We have to figure this out on our own.
Photographers
IMHO, these packs are designed for one kind of backpackers, those that carry heavy camera gear and multiple lenses on a backpacking trip. There are special photo balance pockets that can handle multiple lenses and a full sized DSLR.
The Peak Design Capture Clip is flawed. On a long day, you will feel the weight pulling down on one shoulder. I carried my Nikon Z6 and 14-30 f/4 (3 lbs total) on one trip and my Nikon Z6 and 24-70 f/4 (3 lbs total) on another and was uncomfortable on a long day. So much so that I bought a Nikon Z50 and 16-50 lens (~1.3 lbs) for JMT. The irony is I can, in all likelihood easily carry the Nikon Z6 and the 24-200 (~3.5 lbs) with the balance pockets.
If you are a photography driven backpacker who struggles with heavy gear, you should try Aarn backpacks for sure.
Update 1 May 23, 2021
I have used this backpack on a few practice hikes and a weekend backpacking trip to Sunol Wilderness. There is an optimal position for the hipbelt and it took me while to figure it out. The bag works very well with load.
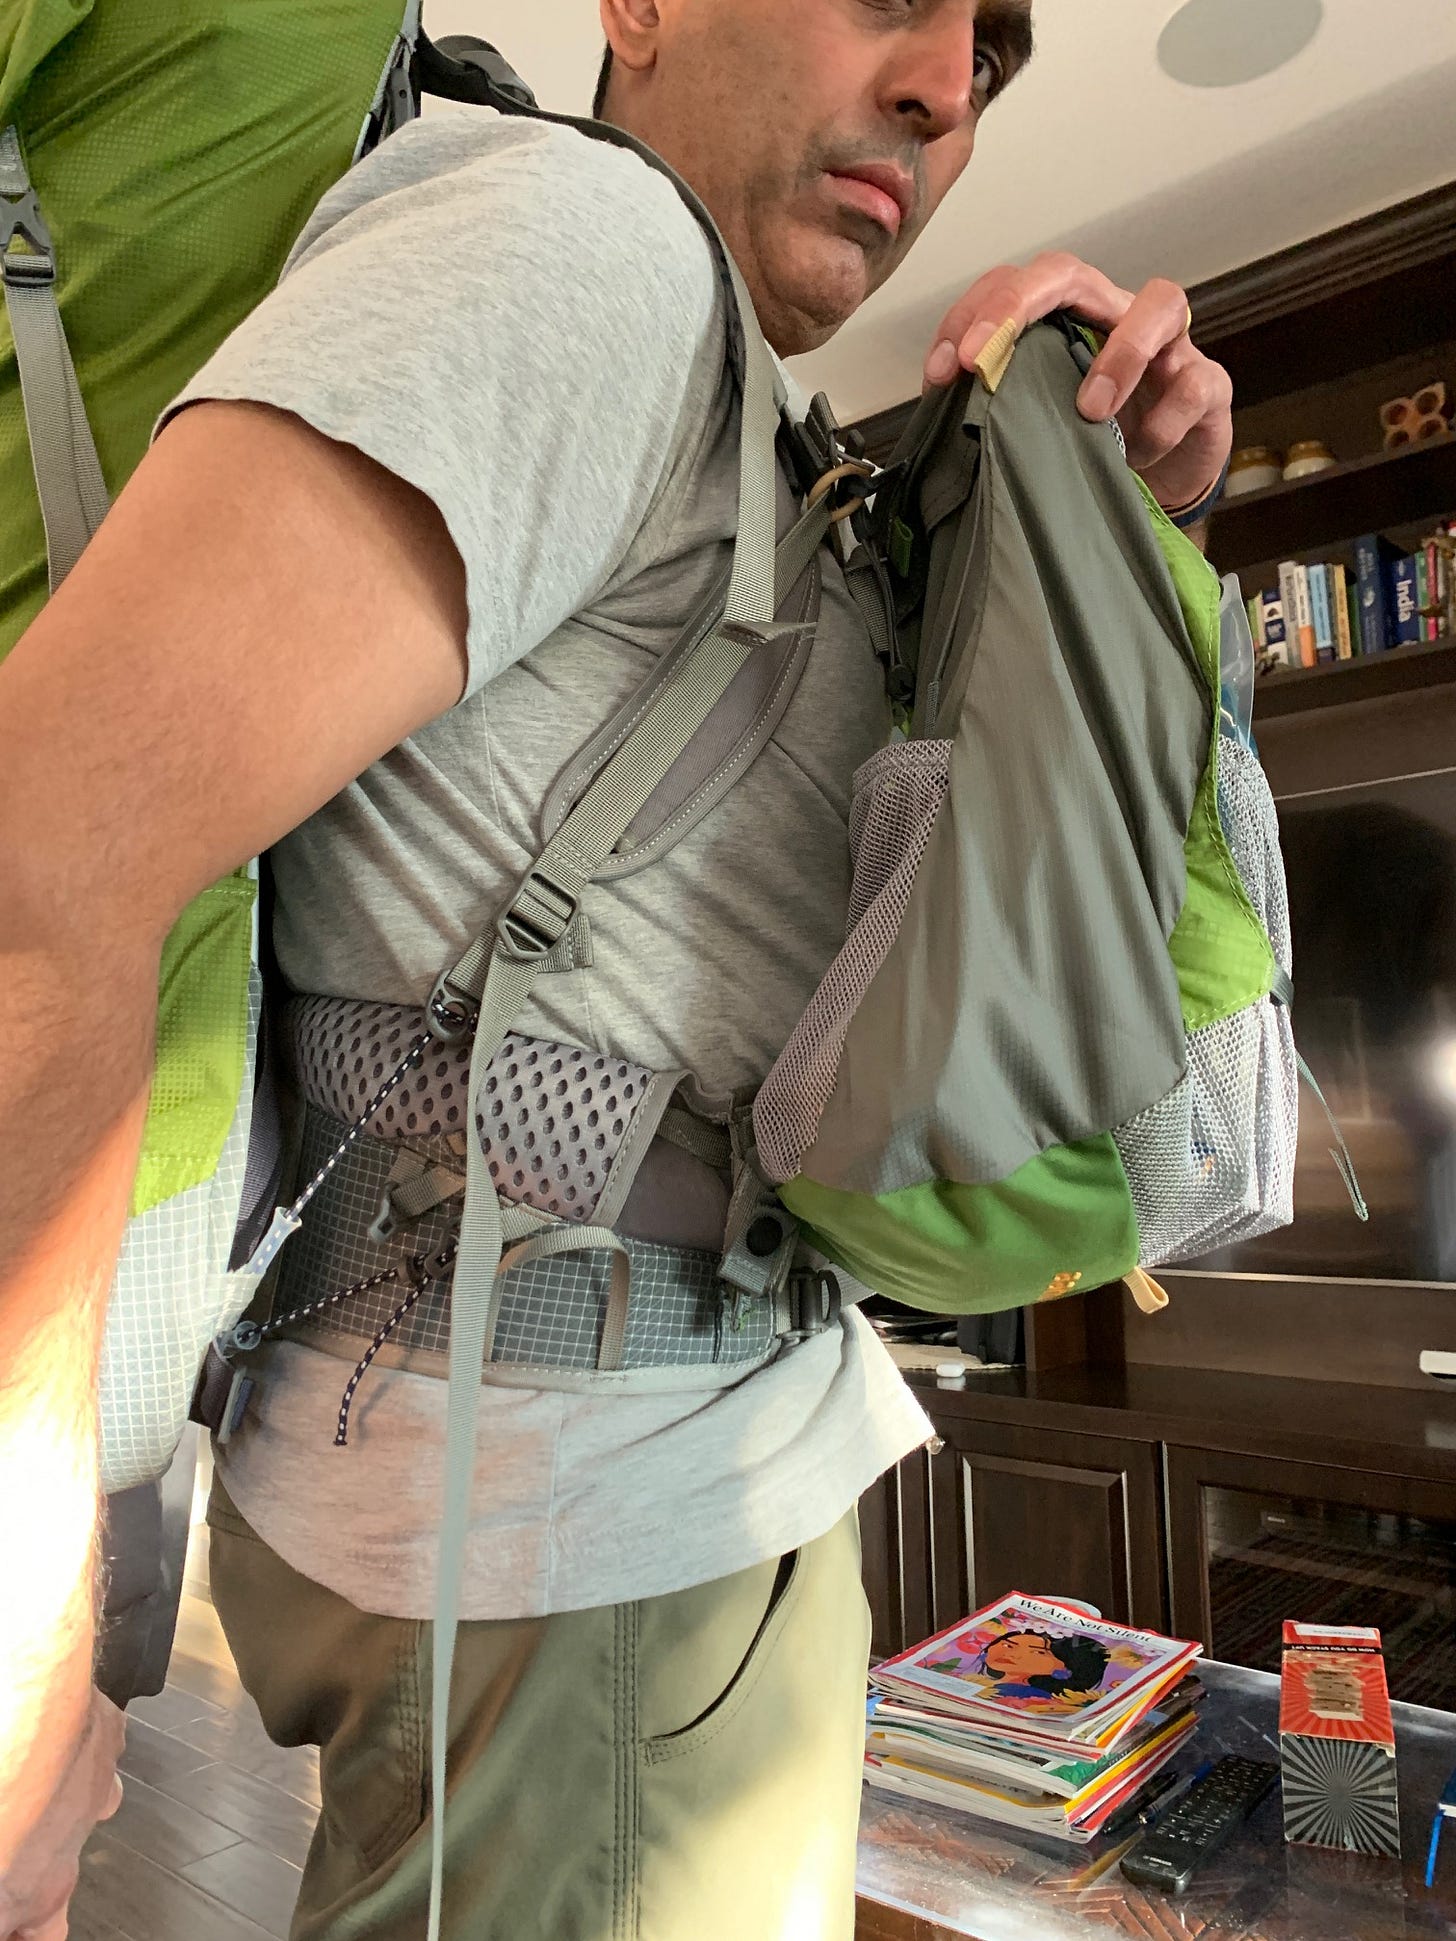
It takes some effort to put the pack on with the balance bags in front, but you get used to it. You definitely look clumsy putting the pack on.
The photo above shows an incorrect procedure to connect the two balance bags, the right way to do it is to connect them in a “X” format. I will upload a new photo the next time I use it.
The bag attracts attention. "Man, you are carrying a lot of stuff” is a common response. I have to learn to ignore it.
I was reading some reviews and realize that the best way to pack this backpack is dense stuff in front and as much lighter weight packed spaciously in the back. Given that, I don’t stuff my sleeping bag anymore in a stuff sack. I just throw it in, place the bear canister on top and work around it. It fills the backpack and gives the appearance of the pack being full, but since you now have 15 more liters of space (since the front of the pack carries the food now), you have plenty of space to work around.
In short, I like the pack. I like it enough that I sold my Gossamer Mariposa. I will update this review after my upcoming memorial day weekend backpacking trip to Ten Lakes Basin.


